Software
Site Software Installation Instructions
The Instructions in the Airspan Installation Guide (shipped with airspan BS) talk about the process of Installation. The components for the software installation are:
- Netspan Management Software
- Netspan Software License
- Windows server SP2 2008 Edition License to run the Netspan software
- Server/laptop to run Windows machine
The Airspan BS does not power ON by default .
Refer to Page 56 of Installation Guide in conjunction to these instructions.
Change the management IP and VLAN configuration to your site addressing scheme.
Contact seskar (at) winlab (dot) rutgers (dot) edu to initiate license acquisition for netspan.
Place the GPS device connected to Air4G-W24 in an area where it can obtain a Lock.
Netspan Installation Instructions
Follow directions for pre-reqs on NS.pdf
- Install SQL 2008 SP1 Standard edition available at http://www.microsoft.com/en-us/download/details.aspx?id=26729
- Install .NET framework 4.0 http://www.microsoft.com/en-us/download/details.aspx?id=17851
- After Installing .Net Framework open cmd prompt on windows machine to register ASP.Net with IIS
cd %windir%\Microsoft.NET\Framework\v4.0.30319
aspnet_regiis.exe -i
- Install IIS as shown in the document
- Try running "InstallNetspanUSA.exe" to verify if database instance is visible to netspan
- If database is not available, check your SQL installation again.
- if database is visible in the dropdown menu, Choose
SQLEXPRESS2008 or whatever you named your instance
- At this point the "Installer" will complain that IIS management compatibility module is not installed". This is because Netspan is not able to read the system registry values.
- Modify system registry to allow netspan to read variables
1.  Open regedit from dos prompt.
2. In case of any unforeseen corruption issues, export the entire registry by
selecting the top node and using File->Export to export to a .reg file. Keep
it safe.
3. Navigate to SOFTWAREMicrosoftInetStpComponents node.
4. Use File->Export to export to another .reg file.
5. Modify this .reg file using notepad and replace
?SOFTWAREMicrosoftInetStpComponents? to
?SOFTWAREWow6432NodeMicrosoftInetStpComponents?
6. Save the file.
7. Now navigate to the node ?SOFTWAREWow6432NodeMicrosoftInetStpComponents?
8. Use right click menu and select permissions.
9. Click on ?Advanced? button.
10. Select the owner tab. You would notice current owner is TrustedInstaller.
11. Change the owner to Administrator, apply and click OK to close.
12. Select Administrator, and check ?Full Control?, click OK to close the
dialog.
13. Use File->Import to import the modified .reg file.
14. Verify the Components folder has registry entries now.
15. Make sure you are on the node
?SOFTWAREWow6432NodeMicrosoftInetStpComponents?
16. Use right click menu and select permissions.
17. Click on ?Advanced? button.
18. Select Administrator, and uncheck Full Control, click OK to close the
dialog.
- Launch the "Installer". The Pre-reqs should pass now. Follow the instructions on Page 20-21 to finish the installation.
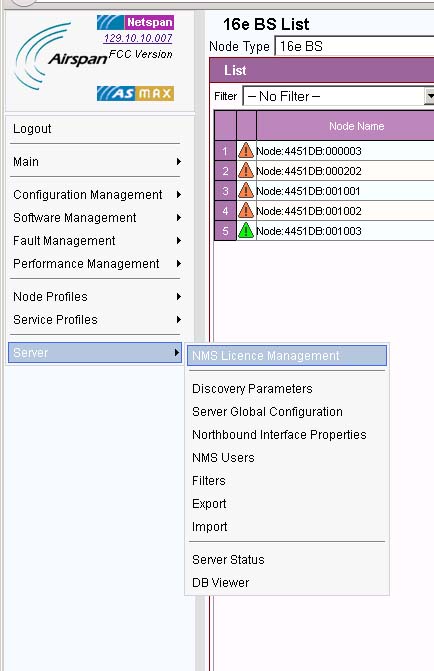
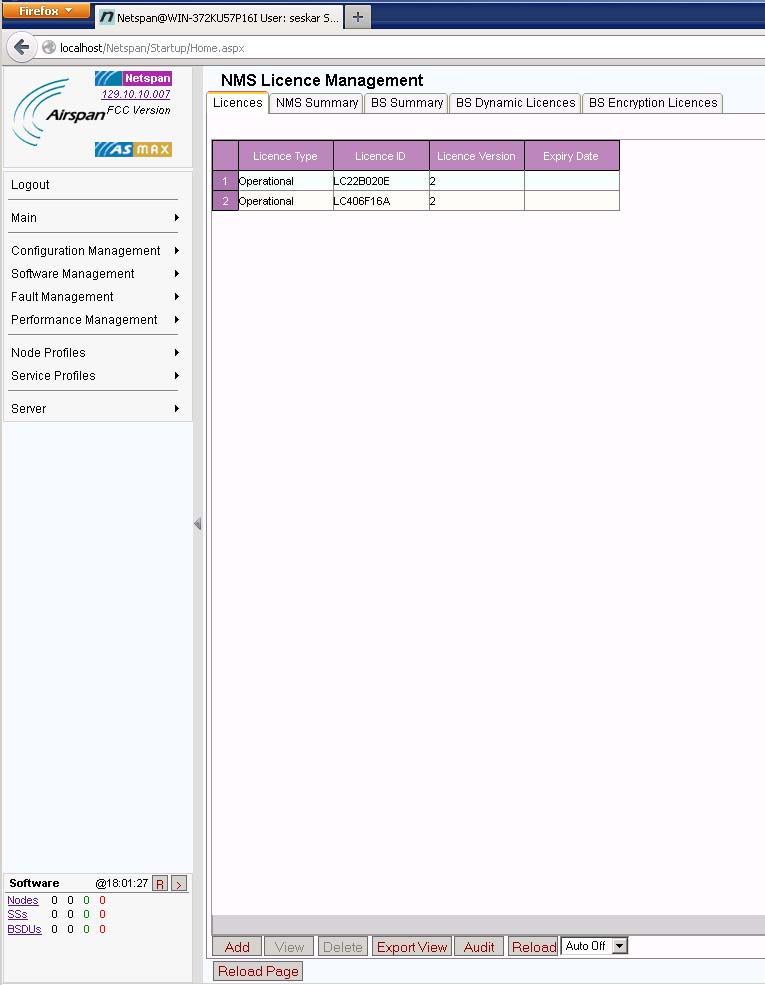
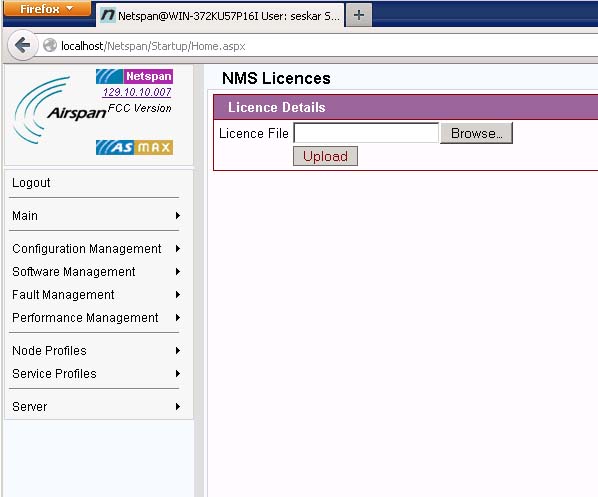
After Installing Netspan, import the license file provided by Airspan into the NMS software
Open a web browser and go to "localhost/netspan"
Enter " username :admin;password: password"
Configuring Base station profile
After uploading the license,
- Create a discovery task: Server → Discovery parameters → Add
(the form fields should match the BS configuration)
- Wait for the discovery to take place
- After a while, the BS should be visible under Configuration
management → Node → Node
- Select it and click on Edit
- Configure everything according to the "golden config" (basically
the default settings), except for the IP address and RF profile which are site-specific
- Make sure that the form field "Ready for service" says "Ready for service"
- Click OK
- Wait for the provisioning to complete (it takes a couple of minutes)
- If the provisioning fails, the BS is probably in "maintenance"
mode and must be switched to "out of service" with the following steps, if needed:
- Select the BS and click on Manage
- Go to the "State and control" page
- Under "16e BS service state" select "Set out of service"
- Click OK and wait, now the provisioning should take place
- Switch the "16e BS service state" to "in service", following the
above procedure
- Now netspan should report all green and the BS should be fully up
and running
Note that the BS cannot be moved from "maintenance" to "in service" directly , so it must be put first into "out of service" state, and then finally "in service".


